
Installing Arcserve UDP › How to Install Arcserve UDP
How to Install Arcserve UDP
As a storage administrator, you manage data backup and restore of machines in your network setup. Using Arcserve UDP, you can centrally manage and protect Windows nodes, Linux nodes, and virtual machines in VMware ESX servers or Microsoft Hyper-V servers. The Arcserve UDP installation provides you with the following options:
- Arcserve UDP - Full: Installs all the Arcserve UDP components. You can install this on a system from where you want to manage data protection functions. This system must meet the hardware requirements necessary to install Arcserve UDP. For information about the supported systems, see the Arcserve UDP Release Notes.
After the installation, you log in to the Arcserve UDP Console (Console) and perform data management functions. The Console lets you can manage and monitor nodes, recovery point servers, backups, restore, and replication.
- Arcserve UDP - Agent: Installs only the Arcserve UDP Agent. Install the agent to the nodes that you want to protect. Perform this step only when you want to install the agent manually to a node. Typically, the agent is deployed automatically to nodes from the Console when you create a plan.
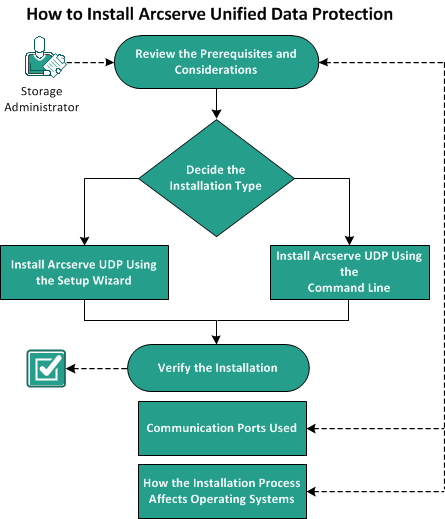
The following diagram illustrates how to install Arcserve UDP.

What To Do Next?
- Review the Prerequisites and Considerations
- Decide the Installation Type
- Install Arcserve UDP Using the Setup Wizard
- Install Arcserve UDP Using the Command Line
- Verify the Installation
- (Optional) Communication Ports Used
- (Optional) How the Installation Process Affects Operating Systems
Copyright © 2015 Arcserve.
All rights reserved.
 
|
|


